Create presentation images from exported Revit LT 3D views.
Keep the camera and model in Revit LT, then use RENDERCAD to explore the finish, lighting, and atmosphere.








Revit LT keeps drawings and 3D views coordinated. Export the view that best explains the design, then use RENDERCAD to turn that composition into a client-ready image.
Use it when a design is ready to show but the working view still looks technical. Exterior approaches, interiors, facade options, cutaways, and overall building-form views all benefit from a clear camera and a deliberate crop.
The strongest source images already communicate the important geometry. Keep useful context such as openings, furniture, landscape, and material boundaries, while removing annotations and selection highlights that compete with the design.
Duplicate the 3D view you want to present, set the crop, and choose perspective or orthographic projection. Use a section box only when it helps explain an interior, floor, stair, or facade. Hide grids, levels, dimensions, reference planes, and the Revit interface before export.
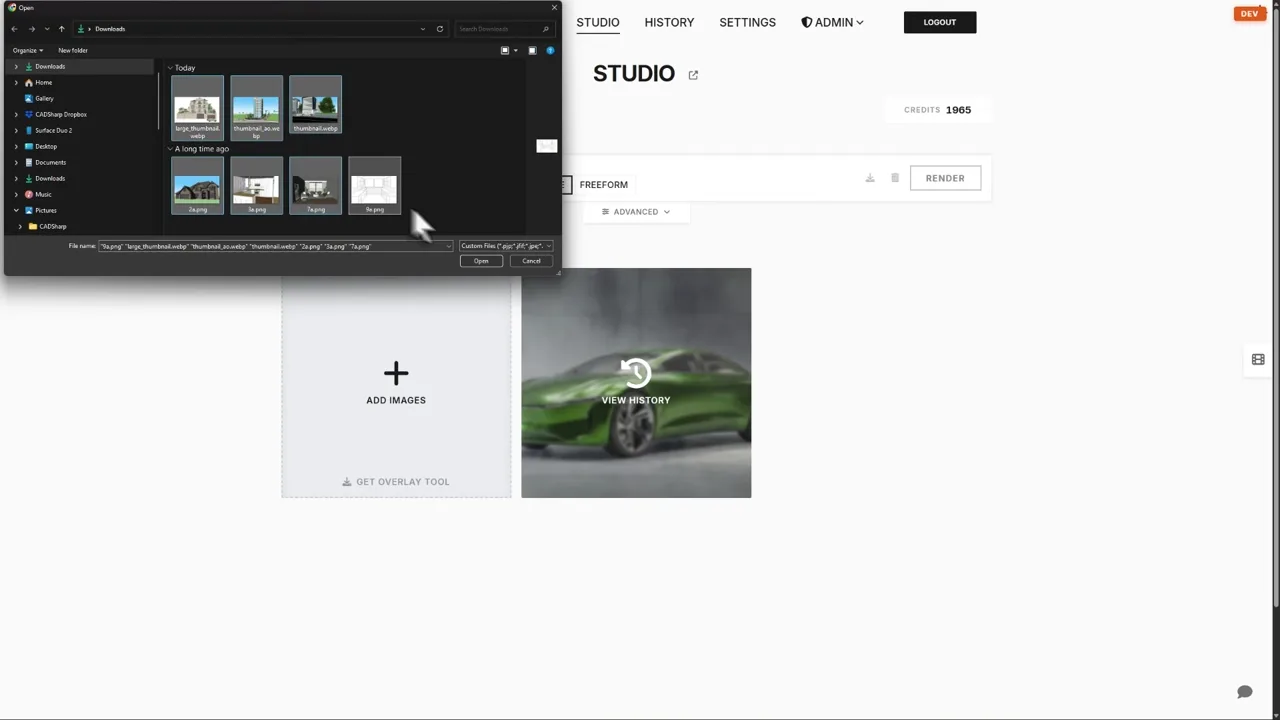
Upload the exported image or a clean high-resolution screenshot. Describe the material direction, time of day, weather, and surrounding context you want to explore. Review the result beside the original view, then adjust the source image or prompt for another pass.
This example uses Onshape, but the video step starts from a finished image. The same option is available after a Revit LT render.
Brush over part of the image and describe what to add, replace, or remove. The edit applies to the rendered image, not the Revit LT model.
Different image models suit different visual goals. Try another model for a different finish, then compare important openings, proportions, and material boundaries with the exported Revit LT view.
| Feature | RENDERCAD | Autodesk Cloud Rendering |
|---|---|---|
| Engine | Generative image models | Autodesk cloud rendering |
| Output | Images + video | Images + panoramas |
| Resolution | HD / 4K | Quality + size settings |
| Image Speed | Varies by model | Varies by scene/settings |
| Motion output | Image-to-video | Panoramas, not video |
| Scene Set Up | Image + prompt | Materials + lights + settings |
| Input | Exported image | Revit LT 3D view |
| Hardware | Cloud processing | Cloud processing |
| Install | Web app | Opened from Revit LT |
| Cost | From $9/mo | Subscription + cloud credits |
RENDERCAD begins with an exported image. Autodesk Cloud Rendering uses the prepared Revit LT view, materials, lights, and render settings.
Keep the building work in Revit LT. Once the view is composed, upload the image and choose a visual direction without rebuilding the scene in another desktop renderer.
 ™
RENDERCAD™
™
RENDERCAD™
Upload an exported image in the browser, capture the Revit LT window with the desktop app, or use the browser extension.
Get StartedPractical details for preparing and refining Revit LT images
Use perspective for an eye-level interior or exterior. Use orthographic projection when the building form, facade, or relationship between volumes matters more than a photographic camera angle.
Keep enough adjacent floor, wall, structure, or landscape to make the cutaway understandable. Crop anything that does not help explain the space or connection you are presenting.
Keep edges and material changes that clarify the design. Reduce heavy outlines, patterns, and annotations when they compete with the form or make the source image feel crowded.
Yes. Reuse the same exported view and change the prompt for each pass. A consistent camera makes the material, lighting, and landscape options easier to compare.
Return to the clearest source view, make the detail more visible, and describe what needs to stay. Compare the next result with the exported view before presenting it.
Export the updated view and make a new render. The presentation image is a separate output, so it does not update automatically when the model or documentation changes.
No. Upload the exported image or screenshot, not the RVT file. The browser workflow does not require a plugin inside Revit LT.
Yes. Once you have a still you want to use, Create Video can add camera or product motion. Review the generated motion before using it in a presentation.
Autodesk renders the prepared Revit LT view with its materials, lights, and settings. RENDERCAD starts from an exported image and uses a prompt to explore another visual direction.