Create stunning photorealistic images and videos from any CAD system, real life photo, or even a quick napkin sketch.
IMAGE RENDERS COMPLETE IN 60 SECONDS.


Trade show teams need a product story that holds together from an aisle-facing back wall to a counter display, live demo screen, launch email, and post-event follow-up. RENDERCAD helps turn CAD views, product photos, design screenshots, sketches, and approved references into polished render output with a shared visual direction. Use it to develop a product hero image for a booth concept, a clear configuration view for a sales demonstration, or supporting campaign visuals while the product, packaging, or exhibit is still evolving.
Start with the source view that answers the visitor's likely question. A three-quarter CAD view can make the form and key components legible; a close product photo can preserve an approved finish or detail; and an architectural or booth-context view can help the team judge how a large product story will read in its intended setting. Establish the approved product configuration, camera angle, lighting mood, and background treatment, then create a small coordinated image set rather than treating each booth surface as a separate visual brief. This gives the graphics, event, sales, and marketing teams a practical starting point for consistent booth walls, digital signage, presenter slides, lead-capture material, and follow-up campaigns.
Trade show graphics also have different dimensions, viewing distances, and production requirements. Use RENDERCAD to explore the source visual before the graphic is placed into the final print or screen layout, and retain the approved source views so changed products or finishes can be refreshed consistently for later events. This is useful for equipment demonstrations, configurable physical products, architectural fixtures, and launches that cannot be photographed in every needed state.
A render is a communication asset, not the final exhibitor artwork or a substitute for the event's official exhibitor kit, printer template, accessibility review, booth approval, engineering record, or product specification. Confirm final dimensions, safe areas, color handling, product details, and approvals with the responsible teams and current production requirements. For repeatable rendering within an event-asset workflow, consult the developer documentation for current implementation guidance.
RENDERCAD helps Trade Show Teams teams scale visual asset production with consistent quality for sales decks, launch materials, and internal reviews.
Upload a clear, approved product or design image. Image renders complete in 60 seconds, helping teams create visual options for presentations and internal review.
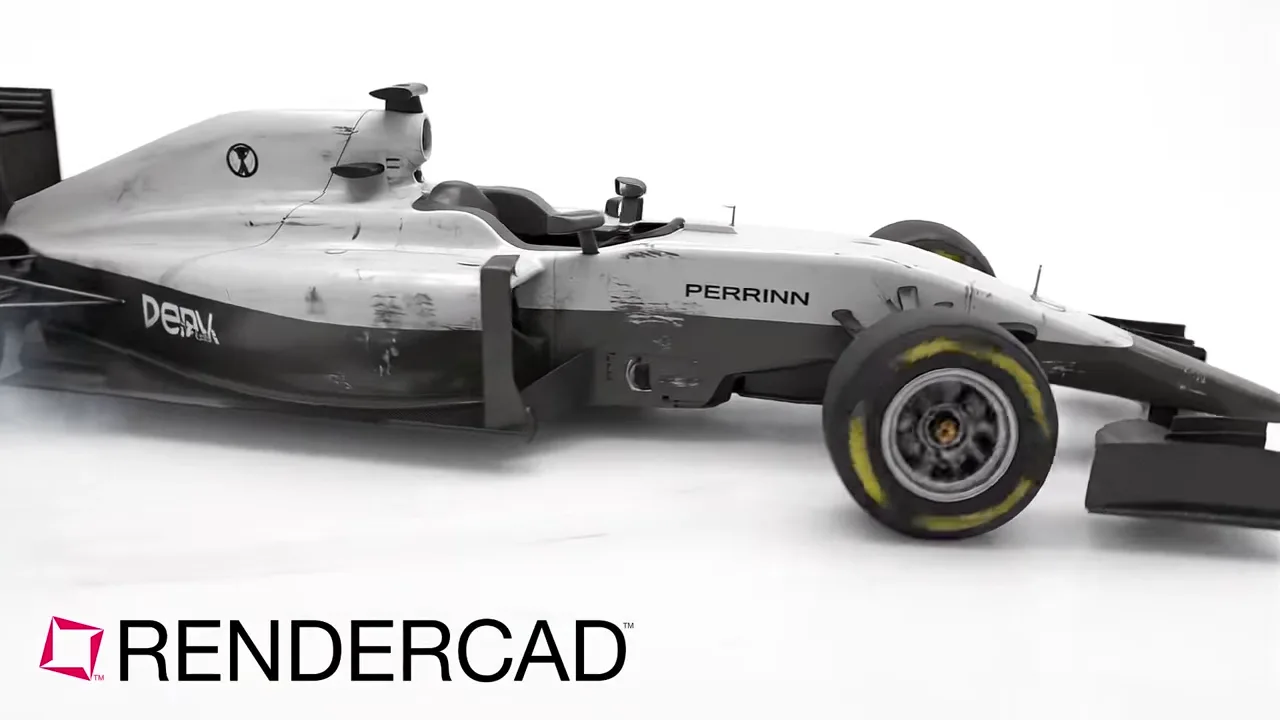
Modeled by CADSharp in Onshape. Rendered with RENDERCAD.
Add | Change | or Remove referenced objects with the stroke of a brush.
RENDERCAD provides reusable background, material, and condition choices that can help teams develop a more consistent visual direction across product-image options. Generated outputs should still be reviewed against the source product and current brand standards before use.
| Feature | RENDERCAD | Others |
|---|---|---|
| Engine | Generative AI | Varies by tool |
| Output | Images + Video | Varies by tool |
| Resolution | HD / 4K | Varies by workflow |
| Image Speed | Image renders complete in 60 seconds. | Varies by scene/tool |
| Video Speed | Videos complete in 2-5 minutes. | Varies by workflow |
| Scene Set Up | No separate local scene | Varies by workflow |
| Input | Screen Snip | Varies by tool |
| Materials | 2,600+ Textures | Tool-dependent |
| Backgrounds | 1300+ Backgrounds | Tool-dependent |
| Conditions | 40+ Effects | Tool-dependent |
| References | Up to 6 Per Render | Varies |
| Hardware | Cloud GPU | Often local GPU/CPU |
| Install | None | Varies (web or app) |
| Cost | from $9/mo | Varies widely |
For procurement teams evaluating rendering solutions: cloud-based, no hardware requirements, predictable per-seat pricing. Here's the feature breakdown your RFP needs.
The screenshot workflow avoids a separate local scene build. Team members can choose from more than 2,600 materials and 1,300 backgrounds, then review the generated visual against the source design and brand requirements.
Forget about complex prompts, RENDERCAD lets you pick materials visually from our library with over 2600+ materials to choose from. Need more? Upload your own custom material references or even MATCH complex material reference images.
RENDERCAD uploads and processes the 2D screenshot you select; it does not require the native CAD model, assembly tree, or parametric project file. Review the current privacy, retention, and third-party processing terms before submitting confidential images.
Stop rolling the prompt dice trying to get the right background. RENDERCAD lets you visually select from over 1300+ environments in a single click. Supports 2D, 360 HDR, and even 3D Scenes.
Queue multiple SKU, angle, or colorway variations for batch processing, subject to plan concurrency and usage limits. The API supports scripted workflows for teams integrating generation into an approved asset pipeline.
Use the browser workflow directly, capture a selected view with the desktop app, or start from the browser extension. Teams should confirm device, browser, and deployment requirements in their own environment.
Get StartedCommon solutions for Trade Show Teams
Yes. All subscription plans include commercial usage rights for rendered images and videos you generate from inputs you are authorized to use. You cannot upload someone else's logo, brand assets, or copyrighted material and claim exclusive ownership of the output.
Plans start at $9/month for Lite (50 credits), $20/month for Starter (150 credits), and $60/month for Professional (500 credits).
Each render costs 1 credit (Fast engine) or 2 credits (Realistic engine). 4K adds 2 credits. Credits refresh monthly with your subscription.
RENDERCAD is an AI-powered rendering service for CAD screenshots, real photos, and hand drawings. Upload an image and choose the relevant settings to create visual options without rebuilding a local render scene.
Image renders complete in 60 seconds. Videos complete in 2-5 minutes.
No. The full RENDERCAD Render Studio runs in a web browser. An optional desktop app and browser extension are also available.
No. RENDERCAD works from 2D images only - CAD screenshots, real photos, hand drawings, or exported views. Your proprietary design files never leave your systems.
Your source files stay on your machine - RENDERCAD only needs the 2D image you choose to upload. RENDERCAD does not use your input images or rendered outputs to train AI models or sell your content. To generate renders, your image is processed by third-party AI compute providers, whose retention and use are governed by their own terms and privacy policies.
Yes. Upload authorized product photos, brand guidelines, or mood boards as visual guidance, and use masks to target specific regions. Lighting, materials, and other details can vary, so review each result against current brand standards.
Three styles: Exact follows the source image more closely, Enhance allows more visual reinterpretation, and Freeform provides the broadest concept exploration. Generated details can still vary, so keep approved source assets as the authority for product and brand details.
Download individual renders or use batch download from the History page. Share direct links or download for use in presentations, documents, and marketing materials.
Yes. Use Image to Video with an available motion direction from a rendered still. Videos complete in 2-5 minutes.